Page 1 of 3
Mukashi Banashi (Seb's Sculpts)
Posted: Mon Jun 06, 2011 1:50 pm
by Seb
This thread is dedicated to the Japanese folklore miniatures that I am sculpting which I am calling "Mukashi Banashi". As of now I am only planning on using them for Strange Aeons gaming but maybe in the future they will be used for something else.
Constructive criticism very much appreciated!
Cheers,
Seb
Re: Mukashi Banashi (Seb's Sculpts)
Posted: Mon Jun 06, 2011 1:57 pm
by ennui
Looking forward to some cool lurkers!

Re: Mukashi Banashi (Seb's Sculpts)
Posted: Mon Jun 06, 2011 1:59 pm
by Seb
First out is my first depiction of a Japanese
Oni.
These
Kanabou (spiked iron club) wielding beasts are nothing to mess with, they can grow very large usually over 2 metres but there are also smaller ones. They are usually red or blue in colour and often come with horns and have the shape of humanoids. They love to eat humans.
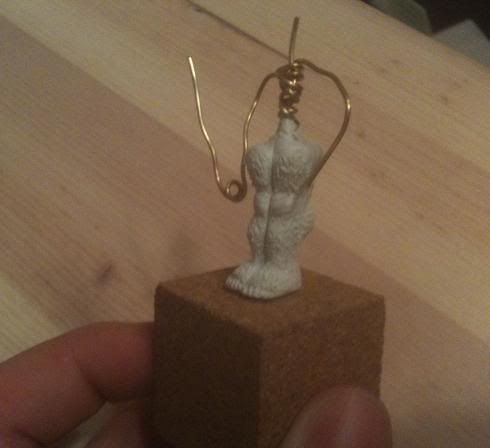
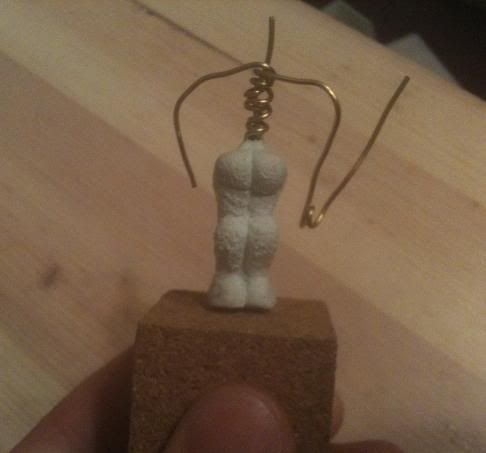
Since this is my first sculpt ever, the tutorial adviced beginners to sculpt the model in one piece. This is why the legs are sculpted together like this.
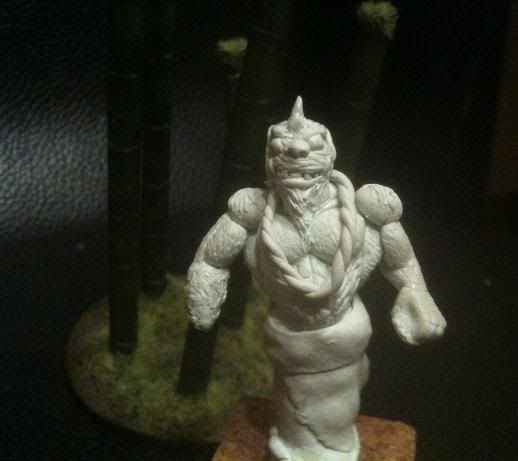
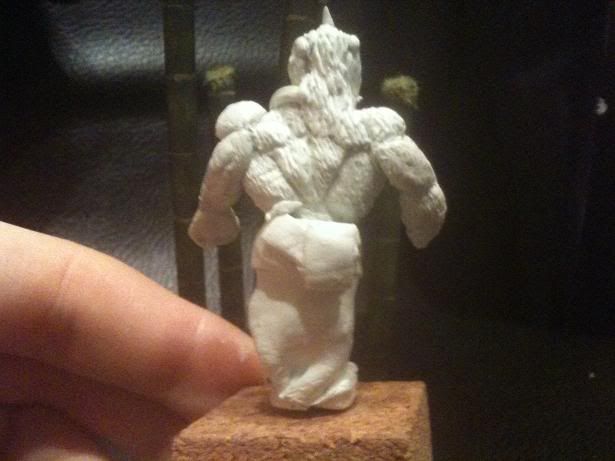
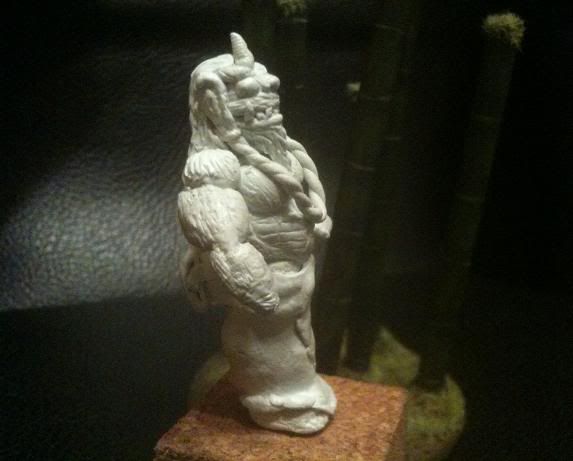
The main sculpt is done, I decided to add a torn yukata over the legs because it really didn't look good to have them together. At least now it doesn't stand out that much.
Re: Mukashi Banashi (Seb's Sculpts)
Posted: Mon Jun 06, 2011 2:14 pm
by Admiral-Badruck
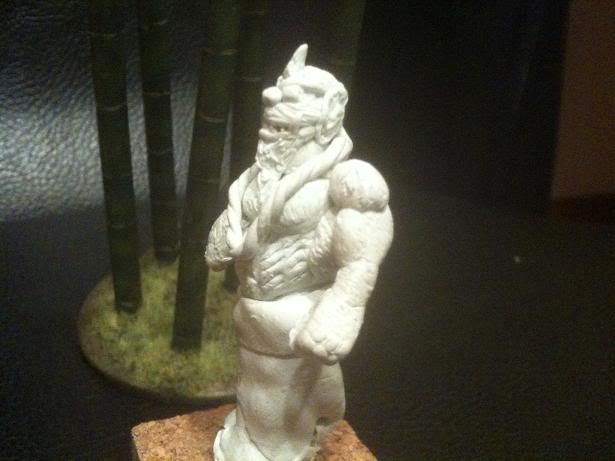
not bad for a first try mate keep up the good work the work on the face really looks nice...
Re: Mukashi Banashi (Seb's Sculpts)
Posted: Mon Jun 06, 2011 2:15 pm
by Miggy Smallz
What clay are you using? What are you using for those fantastic details? I made one using Tamiya epoxy, and thought I could carve out the details later; big mistake. While I've learned from the experience, I would love to know how you got such awesome details!
Re: Mukashi Banashi (Seb's Sculpts)
Posted: Mon Jun 06, 2011 2:33 pm
by Seb
ennui wrote:Looking forward to some cool lurkers!
I hope I can fulfill those expectations!
Admiral-Badruck wrote:not bad for a first try mate keep up the good work the work on the face really looks nice...
Thanks!
Miggy Smallz wrote:What clay are you using? What are you using for those fantastic details? I made one using Tamiya epoxy, and thought I could carve out the details later; big mistake. While I've learned from the experience, I would love to know how you got such awesome details!
Actually you have all the answers yourself mate.
I am using Tamiya Epoxy Putty (Smooth Surface)
and I am carving out the details later.
But one thing that I can advice you on is to build layer by layer, add little then sculpt, then add again and sculpt again. For example if you want to make a muscular arm. make the base, smooth it out. Then make the Biceps and smooth it out, then the triceps etc etc.
Re: Mukashi Banashi (Seb's Sculpts)
Posted: Tue Jun 07, 2011 12:05 am
by Miggy Smallz
Do you use a knife, or a pick, to carve out the details? I've got a couple of knives, scalpels and a 100-yen takoyaki pick, but the detailing on your fur is fantastic. This is a beautiful, awesome sculpt!
Re: Mukashi Banashi (Seb's Sculpts)
Posted: Tue Jun 07, 2011 2:10 am
by Seb
Thanks!
All I use is a cheap modeling knife/scalpel
Re: Mukashi Banashi (Seb's Sculpts)
Posted: Tue Jun 07, 2011 10:15 am
by me_in_japan
do you scuplt when its cured or uncured? I got some tamiya stuff once. It went on like toothpaste, and then after about 10 mins went "fzp" and turned into granite. Useless...
I very much favour grey stuff, or pro-create, as its actually known. Verra nice to work with, and wont cure too fast. Milliput also has many uses, I reckon.
Re: Mukashi Banashi (Seb's Sculpts)
Posted: Tue Jun 07, 2011 10:30 am
by Seb
me_in_japan wrote:do you scuplt when its cured or uncured? I got some tamiya stuff once. It went on like toothpaste, and then after about 10 mins went "fzp" and turned into granite. Useless...
I very much favour grey stuff, or pro-create, as its actually known. Verra nice to work with, and wont cure too fast. Milliput also has many uses, I reckon.
I sculpt as soon as I have mixed the putty up, after mixing Id say that the stuff is useable for at least 30 mins to 2hrs depending on the quantity.