I already have a thread in the Hobby Log section for my nurgle marines, but it's been so long since I updated it it seemed sensible to start a new thread. If you want to see the older stuff, it's over here.
So far, the only major additions to my nurgle marines this year are my bikers and my worms (spawn). In the works, I have a daemon prince, a hellbrute, a dark apostle, a warpsmith, typhus, a sorceror on a palanquin, and a whole passel of cultist zombies. All of these will be extensively converted except typhus (cos he's already pretty damn nurgly) and the daemon prince, who is an ace sculpt (The Old Death, from Enigma) and I don't wanna faff with it.
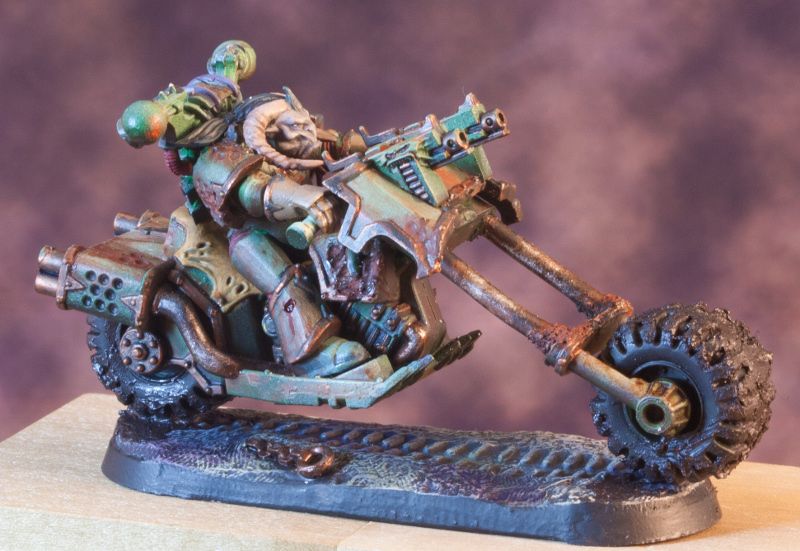
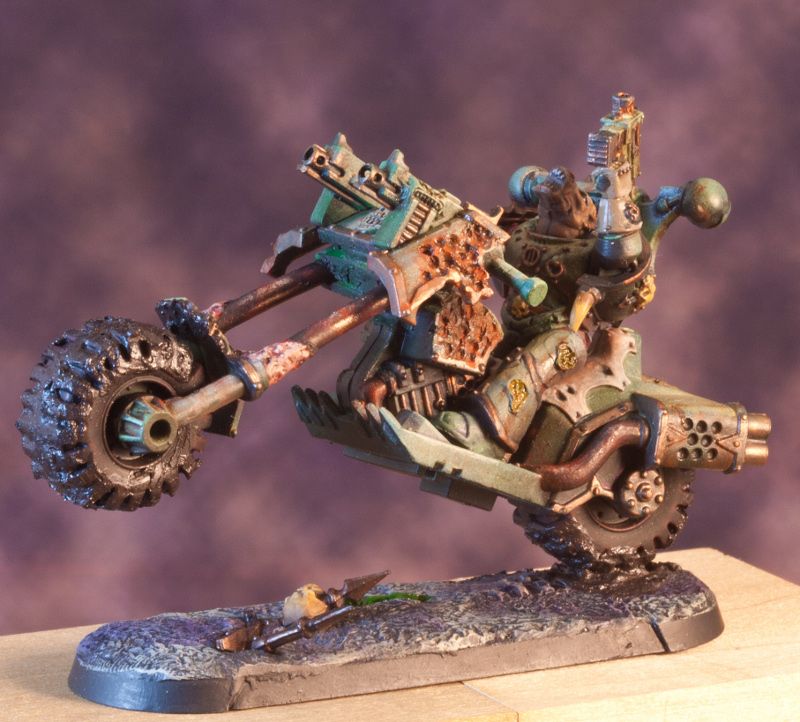
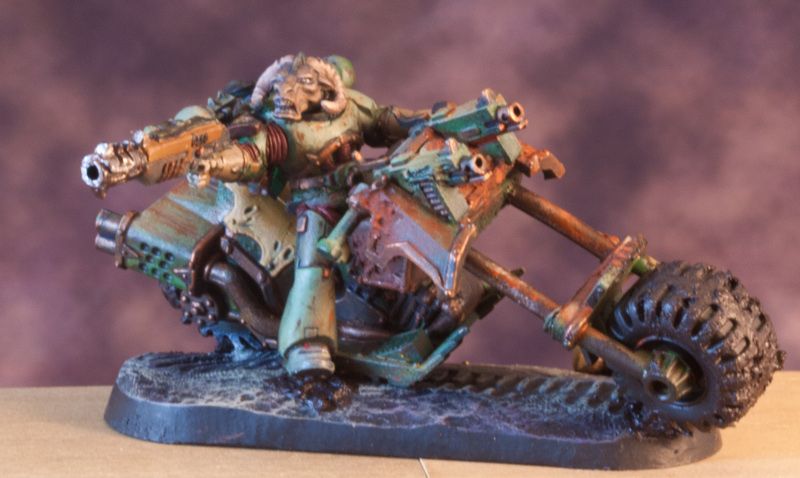
Anyway, without further ado, here are some pics of bikers:
group shot
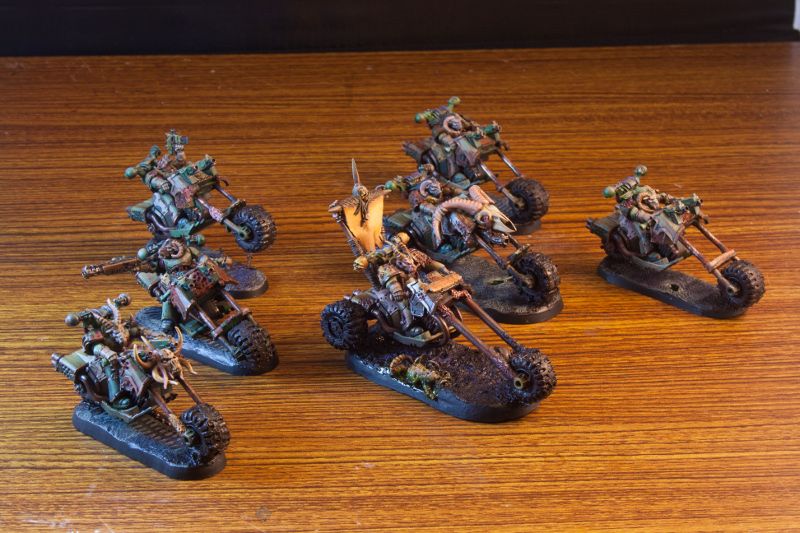
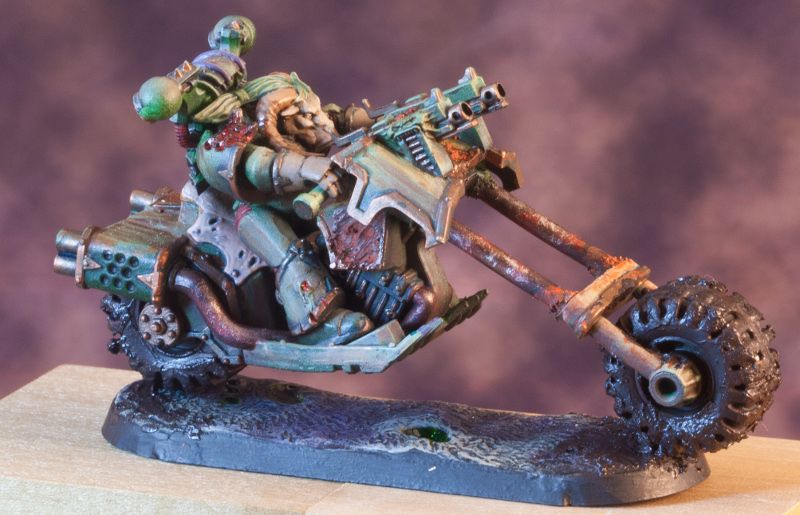
Bikers 1 through 6
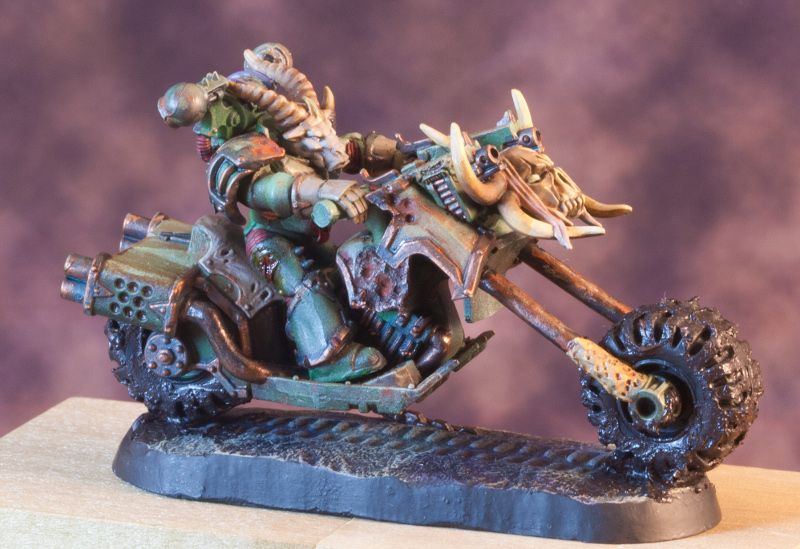
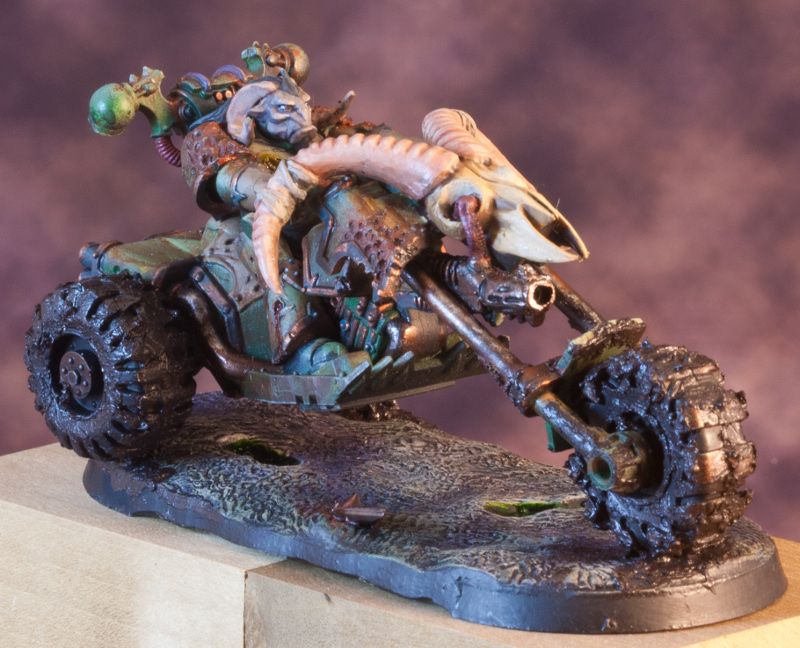
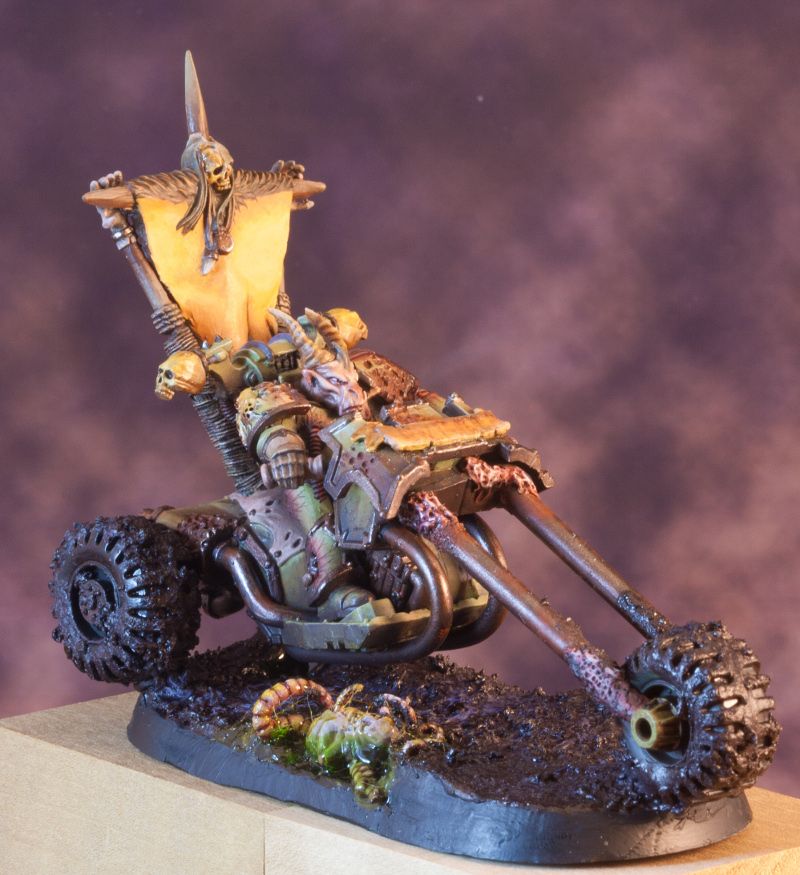
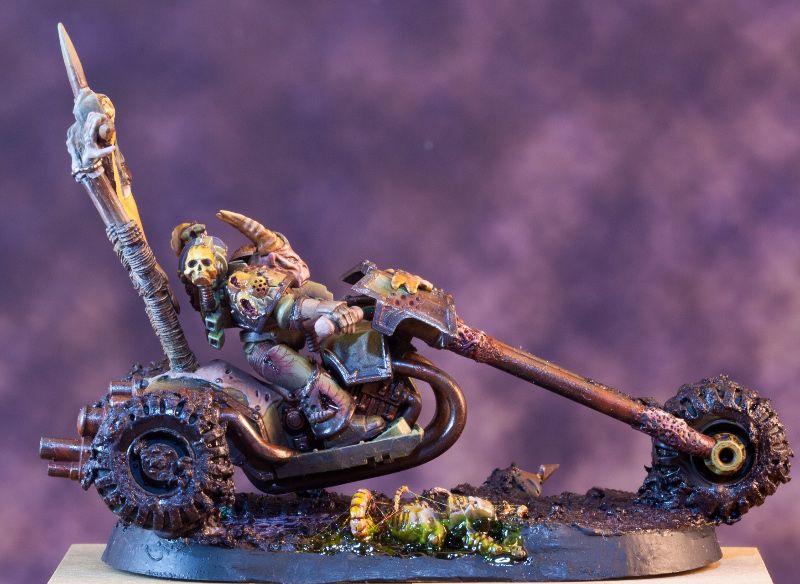
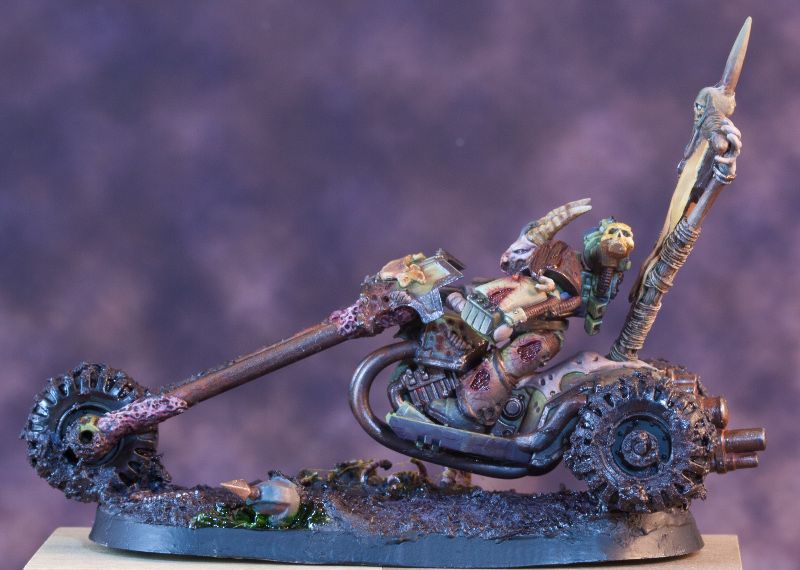
And the biker lord.
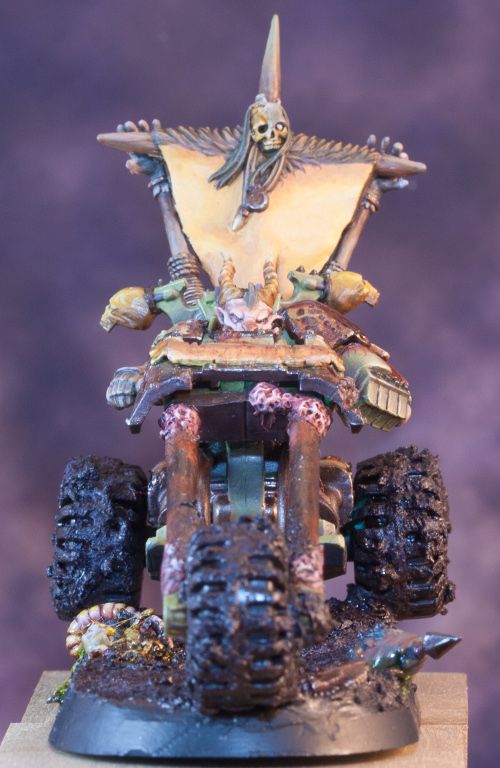
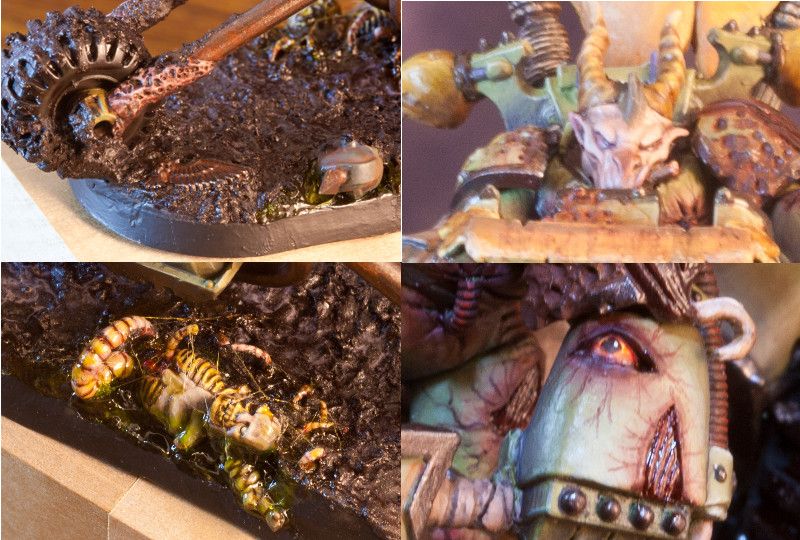
some details