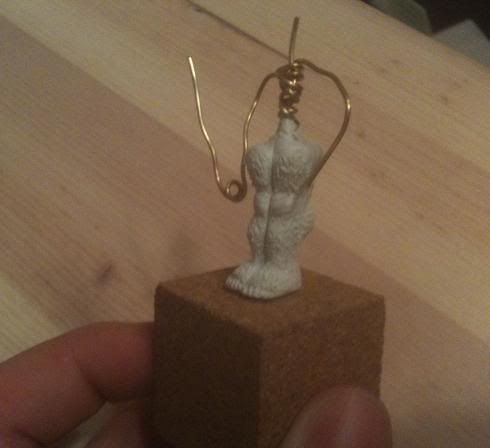
@seb

sorry - pic got chopped. Right click and select "view image" or whatever your browser calls it, to see it properly.
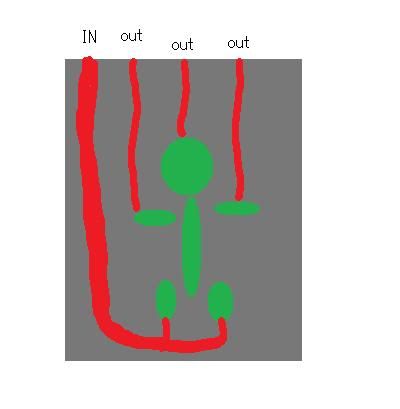
When you first pop your mould open after casting your master model, it will have no vents. It will basically be a block of rubber, cut in half, with two empty shells where the master mini once was. If you look at the diagram, the red sections are the vents/entry points. The entry point is just a fat vent, and can theoretically be any one of them.
Note the vents are all running in the same direction, and all exit on the same surface. A vent is simply a wedge shaped cut made into your mould (use a sharp knife or youll have wee teary bits of rubber clogging the vents up.) Note that you can also cut vents from one part of the model-space to another, e.g. the suggested solution for the downward pointing arm.
This surface will be UP when you pour the resin into the mould. Make sure the mould is fairly tightly clamped shut before you do this, as any leakage will not only make a hella mess, but ruin whatever you were trying to cast. Still, you should expect a good few muck-ups before a viable model comes out.
First time around, I recommend cutting vents anywhere you think air might get trapped, and where you can get away with having a stub sticking off your cast model. i.e. simple surfaces are best (not over the face, for example, unlike my crappy diagram

) When you cast this first time around, you'll probably find that air has collected somewhere you didnt predict, leaving a half-formed limb/spikey bit/whatever. Locate that trouble spot on the mould, and cut another vent there. Repeat, until you get a clean cast.
Hope that helps

*EDIT* heres an actual mould. Not the best pic, but you can see how the vents are just wedge shaped cuts made in the mould.